Raspberry Pi RemoteIoT: The Ultimate Guide For Downloading On Mac
Hey there, tech enthusiasts! If you're diving into the world of Raspberry Pi and exploring its RemoteIoT capabilities, you're in for a treat. Whether you're a seasoned developer or a curious beginner, this guide will walk you through everything you need to know about Raspberry Pi RemoteIoT and how to download it on your Mac. So, grab a cup of coffee, and let's get started!
Imagine having the power to control devices remotely using a tiny but mighty piece of hardware. That's exactly what Raspberry Pi RemoteIoT offers. It’s like having a superpower in your pocket, allowing you to manage IoT projects effortlessly. This guide will not only explain the basics but also provide you with actionable steps to set up your environment.
Before we dive deep, let's address the elephant in the room. Why is Raspberry Pi RemoteIoT so popular? Well, it's all about flexibility, affordability, and scalability. You can build anything from home automation systems to complex industrial solutions. And hey, who doesn't love a good tech project that doesn't break the bank?
- Movierulz Tips To Stream Movies Safely And Legally In 2023
- Unveiling The Secrets Of Hidden Mms Desi A Deep Dive
What is Raspberry Pi RemoteIoT?
Raspberry Pi RemoteIoT is an extension of the Raspberry Pi ecosystem, enabling users to connect and control IoT devices remotely. It’s like giving your Raspberry Pi wings to fly beyond its physical location. With RemoteIoT, you can monitor and manage sensors, cameras, and other devices from anywhere in the world.
Here’s a quick breakdown of what makes Raspberry Pi RemoteIoT so awesome:
- Remote access to your projects
- Seamless integration with existing IoT frameworks
- Compatibility with various operating systems
- Highly customizable for specific use cases
And let’s not forget the community support. There’s a whole army of developers out there sharing tips, tricks, and tutorials to help you succeed. It’s like having a built-in support system!
- Hdhub4u Hollywood Hindi Dubbed Your Ultimate Guide To Bollywood Entertainment
- Aagmaal Competitors The Battle For Online Travel Dominance
Why Choose Raspberry Pi for RemoteIoT?
Now, you might be wondering why Raspberry Pi is the go-to choice for RemoteIoT projects. Well, there are a few key reasons:
Cost-Effectiveness
Compared to other single-board computers, Raspberry Pi offers an unbeatable price-to-performance ratio. You can get started with a project for under $50, which is pretty sweet if you ask me.
Versatility
Raspberry Pi supports a wide range of applications, from simple home automation to complex AI projects. Its versatility makes it perfect for both beginners and advanced users.
Community and Support
The Raspberry Pi community is massive, and it’s filled with helpful people who love sharing knowledge. Whether you’re stuck on a problem or just want to learn more, there’s always someone willing to lend a hand.
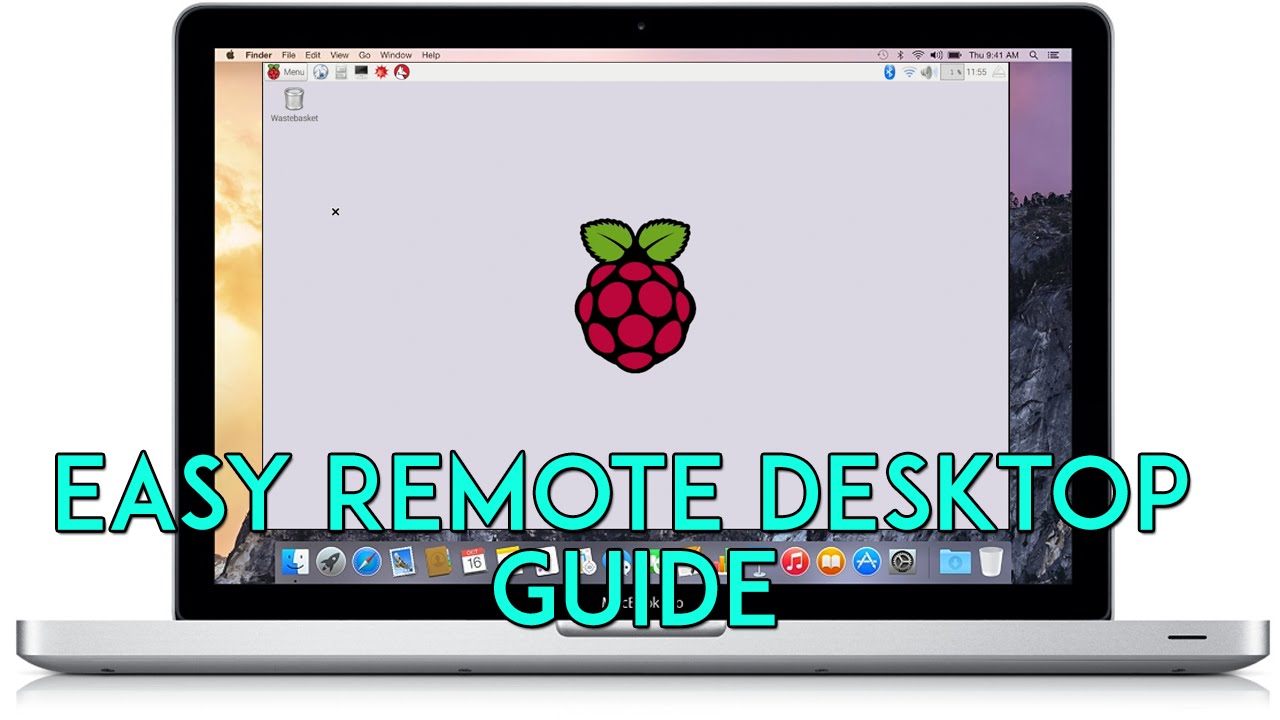
Downloading Raspberry Pi RemoteIoT on Mac
Alright, let’s get down to business. If you’re ready to download Raspberry Pi RemoteIoT on your Mac, follow these simple steps:
Step 1: Check System Requirements
Before you start, make sure your Mac meets the minimum requirements. You’ll need at least macOS 10.14 (Mojave) or later. Also, ensure you have enough storage space for the download and installation process.
Step 2: Visit the Official Website
Head over to the official Raspberry Pi website and navigate to the RemoteIoT section. This is where you’ll find the latest version of the software along with detailed instructions.
Step 3: Download the Installer
Once you’re on the download page, select the version compatible with macOS. The installer file is usually in .dmg format, which is easy to install on Macs.
Step 4: Install Raspberry Pi RemoteIoT
After the download is complete, open the .dmg file and follow the on-screen instructions. The installation process is straightforward and shouldn’t take more than a few minutes.
Setting Up Raspberry Pi RemoteIoT
Now that you’ve downloaded and installed Raspberry Pi RemoteIoT, it’s time to set it up. Here’s a step-by-step guide to help you:
Step 1: Connect Your Raspberry Pi
Make sure your Raspberry Pi is connected to your network via Wi-Fi or Ethernet. You’ll need to know its IP address, which you can find in your router’s admin panel.
Step 2: Configure Remote Access
Use the Raspberry Pi RemoteIoT software to configure remote access settings. This involves setting up SSH (Secure Shell) and enabling remote desktop connections if needed.
Step 3: Test the Connection
Once everything is set up, test the connection to ensure everything is working smoothly. You should be able to access your Raspberry Pi from your Mac without any issues.
Exploring RemoteIoT Features
Now that you’re all set up, let’s explore some of the cool features Raspberry Pi RemoteIoT has to offer:
Real-Time Monitoring
With RemoteIoT, you can monitor your IoT devices in real-time. Whether it’s checking the temperature of a sensor or viewing a live feed from a camera, everything is at your fingertips.
Automated Control
Set up automated controls for your devices. For example, you can program your Raspberry Pi to turn off a light after a certain period of inactivity. It’s like having a personal assistant for your home or office.
Custom Dashboards
Create custom dashboards to display all your IoT data in one place. This makes it easier to manage and analyze your projects without switching between multiple interfaces.
Troubleshooting Common Issues
Even the best-laid plans can sometimes go awry. Here are some common issues you might encounter and how to fix them:
Connection Problems
If you’re having trouble connecting to your Raspberry Pi, double-check your IP address and ensure your network settings are correct. Also, verify that SSH is enabled on your Raspberry Pi.
Software Updates
Make sure you’re running the latest version of Raspberry Pi RemoteIoT. Software updates often include bug fixes and performance improvements, so it’s always a good idea to stay up-to-date.
Device Compatibility
Not all IoT devices are compatible with Raspberry Pi RemoteIoT. Before purchasing new hardware, check the compatibility list to avoid any headaches down the road.
Best Practices for Using Raspberry Pi RemoteIoT
To get the most out of your Raspberry Pi RemoteIoT setup, follow these best practices:
- Regularly back up your data to prevent loss in case of hardware failure.
- Use strong passwords and enable two-factor authentication for added security.
- Document your projects and configurations for easy reference in the future.
Real-World Applications
Raspberry Pi RemoteIoT isn’t just for hobbyists; it has real-world applications across various industries:
Smart Homes
Control lighting, thermostats, and security systems from anywhere in the world. It’s like having a virtual butler for your home.
Industrial Automation
Monitor and manage industrial processes remotely, reducing the need for on-site personnel and increasing efficiency.
Agriculture
Use IoT sensors to monitor soil moisture, temperature, and other environmental factors to optimize crop growth.
Conclusion
And there you have it, folks! Raspberry Pi RemoteIoT is a powerful tool that opens up a world of possibilities for IoT enthusiasts. Whether you’re building a smart home or automating industrial processes, this technology has got you covered.
So, what are you waiting for? Download Raspberry Pi RemoteIoT on your Mac and start your journey into the exciting world of IoT. Don’t forget to share your experiences and projects in the comments below. And hey, if you found this guide helpful, why not share it with your friends? Let’s spread the tech love!
Until next time, keep coding and keep innovating!
Table of Contents
- What is Raspberry Pi RemoteIoT?
- Why Choose Raspberry Pi for RemoteIoT?
- Downloading Raspberry Pi RemoteIoT on Mac
- Setting Up Raspberry Pi RemoteIoT
- Exploring RemoteIoT Features
- Troubleshooting Common Issues
- Best Practices for Using Raspberry Pi RemoteIoT
- Real-World Applications
- Conclusion

Detail Author:
- Name : Ayana McKenzie
- Username : wauer
- Email : princess31@gmail.com
- Birthdate : 1989-08-03
- Address : 546 Wintheiser Way Suite 056 Laurenstad, NM 76409-2533
- Phone : +13393705053
- Company : Kunze PLC
- Job : Machine Operator
- Bio : Doloremque enim rerum non doloribus. Temporibus perspiciatis natus id ad. Distinctio quidem qui dolorem. Suscipit aut at et ab eum.
Socials
twitter:
- url : https://twitter.com/moenm
- username : moenm
- bio : Sit dolorem amet quibusdam nostrum sunt amet. Distinctio sed qui error qui cumque. Ut et enim et sit porro.
- followers : 2989
- following : 2065
facebook:
- url : https://facebook.com/makaylamoen
- username : makaylamoen
- bio : Consequatur quo pariatur nemo aperiam ea perferendis consectetur.
- followers : 6764
- following : 2020
instagram:
- url : https://instagram.com/makayla.moen
- username : makayla.moen
- bio : Iure qui excepturi ut dolores non sit. Illum id recusandae asperiores et.
- followers : 2044
- following : 2626
tiktok:
- url : https://tiktok.com/@makayla_moen
- username : makayla_moen
- bio : Non sit non in quod cumque excepturi. Earum voluptas perferendis et.
- followers : 6358
- following : 1626
linkedin:
- url : https://linkedin.com/in/makayla_moen
- username : makayla_moen
- bio : Ipsam ut possimus a eos esse.
- followers : 549
- following : 2461
